
Light curing composite resin has become a fundamental material in modern dentistry, widely used for restorative procedures due to its versatility, aesthetic appeal, and strong bonding properties. As dental professionals increasingly utilize this material for fillings, veneers, and various cosmetic applications, understanding its characteristics, advantages, and application techniques is crucial for achieving optimal results. This comprehensive usage guide aims to provide dental practitioners with essential insights into light curing composite resin, including its types, benefits, application procedures, and post-application care.

1. What is Light Curing Composite Resin?
Light curing composite resin is a synthetic material composed of a mixture of organic polymers and inorganic fillers. It transforms from a pliable state to a solid-state upon exposure to a specific wavelength of light, typically emitted by LED or halogen curing lights.
Key Components:
Matrix Resin:Composed of bisphenol A glycidyl methacrylate (Bis-GMA), urethane dimethacrylate (UDMA), or other photopolymerizable agents that provide the matrix for the composite.
Filler Particles:Inorganic materials such as silica or glass are added to enhance strength, durability, and wear resistance.
Photoinitiator:This component absorbs light energy and initiates the polymerization process, allowing the resin to cure.
2. Types of Light Curing Composite Resins
There are several types of light curing composite resins, each specifically formulated for different applications:
Universal Composites
- Suitable for a wide range of indications, from anterior to posterior restorations.
- They offer good aesthetic properties and mechanical strength.
Microhybrid Composites
- A combination of micro and macro-sized filler particles.
- These composites provide excellent aesthetics and strength and are ideal for both anterior and posterior applications.
Nanocomposites
- Contain nanosized fillers that enhance polishability and translucency.
- Ideal for anterior restorations where aesthetics are paramount.
Bulk Fill Composites
- Designed for posterior restorations, these composites can be placed in thicker increments and still achieve adequate curing.
- They provide time-efficient procedures and excellent mechanical properties.
Flowable Composites
- Thinner consistency allows for easy adaptation to cavity walls and intricate dental anatomy.
- Often used as liners or for small repairs but may have lower strength than traditional composites.
3. Benefits of Light Curing Composite Resin
Aesthetics
Light curing composite resins can be shade-matched to natural tooth color, providing excellent aesthetic results for restorations.
Bonding Strength
The adhesive properties allow for strong bonding to tooth structure, enhancing retention and reducing the risk of restoration failure.
Versatility
These materials can be used in various applications, including fillings, veneers, and crown repairs.
Low Shrinkage
Modern formulations exhibit reduced polymerization shrinkage, minimizing the risk of gaps and sensitivity.
Quick Curing Time
The curing process is rapid, allowing for efficient treatment times and immediate restoration function.
Preparation of the Tooth Surface
Clean the cavity:Remove any debris, plaque, or old restorative material.
Etch:Use phosphoric acid gel to etch the enamel and dentin surfaces, enhancing bonding.
Rinse and Dry:Thoroughly rinse the etchant and dry the area while avoiding desiccation of dentin.
Application of Bonding Agent
- Apply the bonding agent to the prepared surface according to the manufacturer's instructions.
- Use a microbrush to ensure complete coverage.
- Light-cure the bonding agent as instructed.
Placement of Composite Resin
- Incrementally place the composite resin in layers (usually 2 mm thick).
- Use a suitable instrument to adapt and shape the resin to the desired anatomical contour.
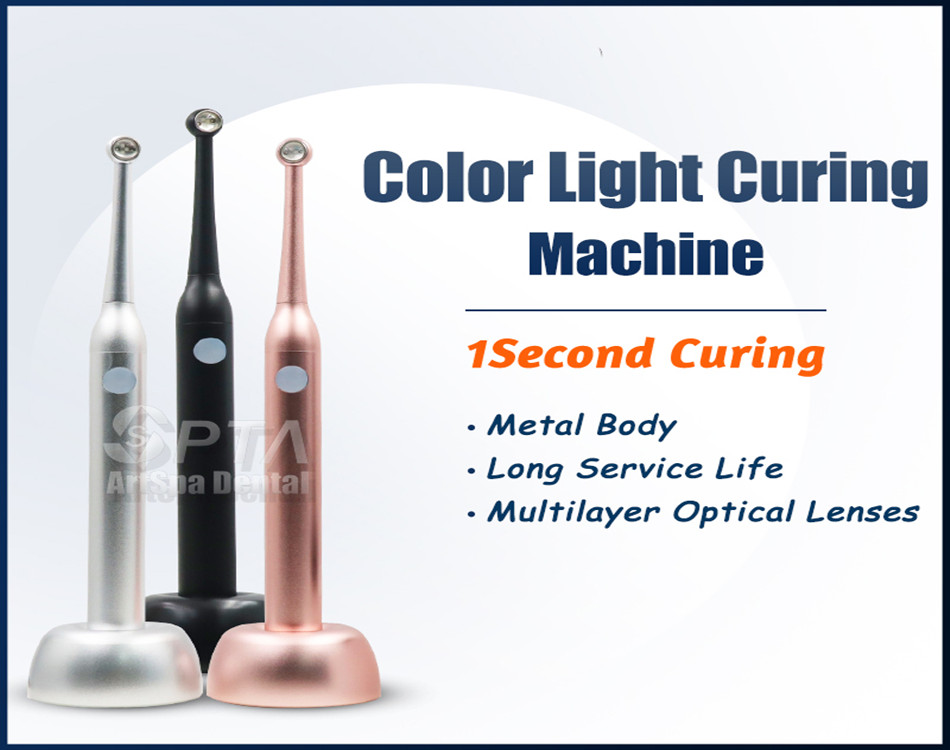
Curing the Composite
- Expose the composite resin to the curing light for the manufacturer-specified time (typically 20-40 seconds).
- Ensure the curing light is positioned adequately for even light distribution.
Finishing and Polishing
- Once cured, use finishing burs to shape and contour the restoration.
- Polish with fine discs or points to achieve a smooth surface and restore luster.
Patient Instructions
After the procedure, patients should be informed of the following:
Avoid Sticky Foods:For the first 24 hours, patients should refrain from consuming sticky or hard foods that could dislodge the restoration.
Maintain Oral Hygiene:Regular brushing and flossing should be encouraged to maintain overall oral health and the longevity of the restoration.
Follow-Up Appointments
Routine check-ups are essential to monitor the integrity of the restoration and ensure the surrounding dental structures remain healthy.
 How Do Different Light Sources Affect the Performance of Your Dental Loupe?
 How Can the Ergonomic Design of the Ergo 48° Dental Loupe Enhance Your Precision in Dental Procedures?
 What Are the Key Features of the Ergo 48° Dental Loupe That Set It Apart from Other Magnifying Glasses on the Market?
 How Can the Ergonomic Design of the Ergo 48° Dental Loupe Enhance Your Precision in Dental Procedures?


